Land to Air Emergency Signals and Sign Language
In emergency situations, effective communication is vital, especially when traditional methods like radios or phones are unavailable. This guide walks you through how to use land-to-air signals to communicate with aircraft and basic American Sign Language (ASL) gestures to communicate with those around you when verbal communication isn’t possible.

Using Emergency Land-to-Air Signals
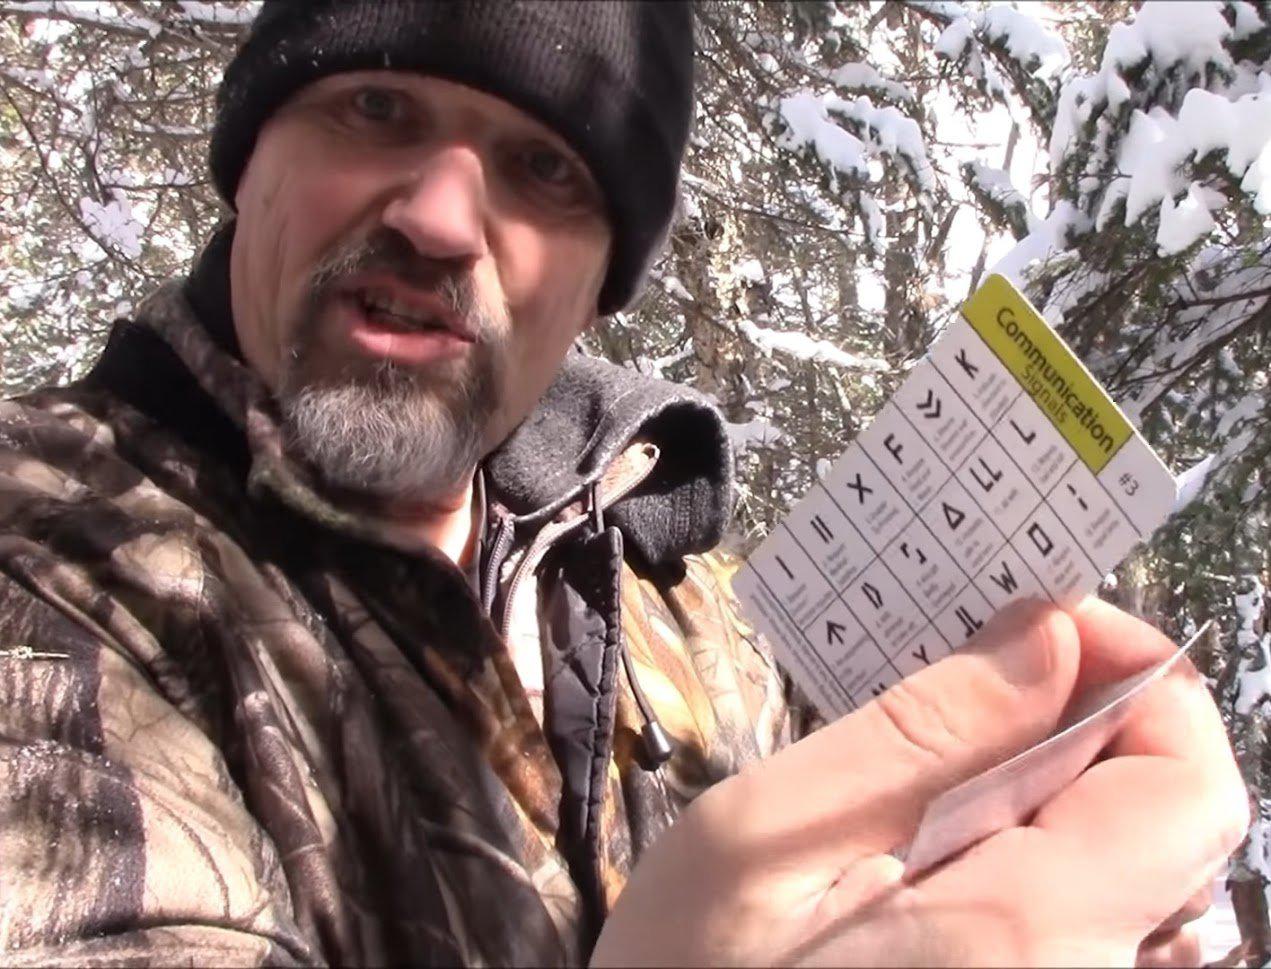
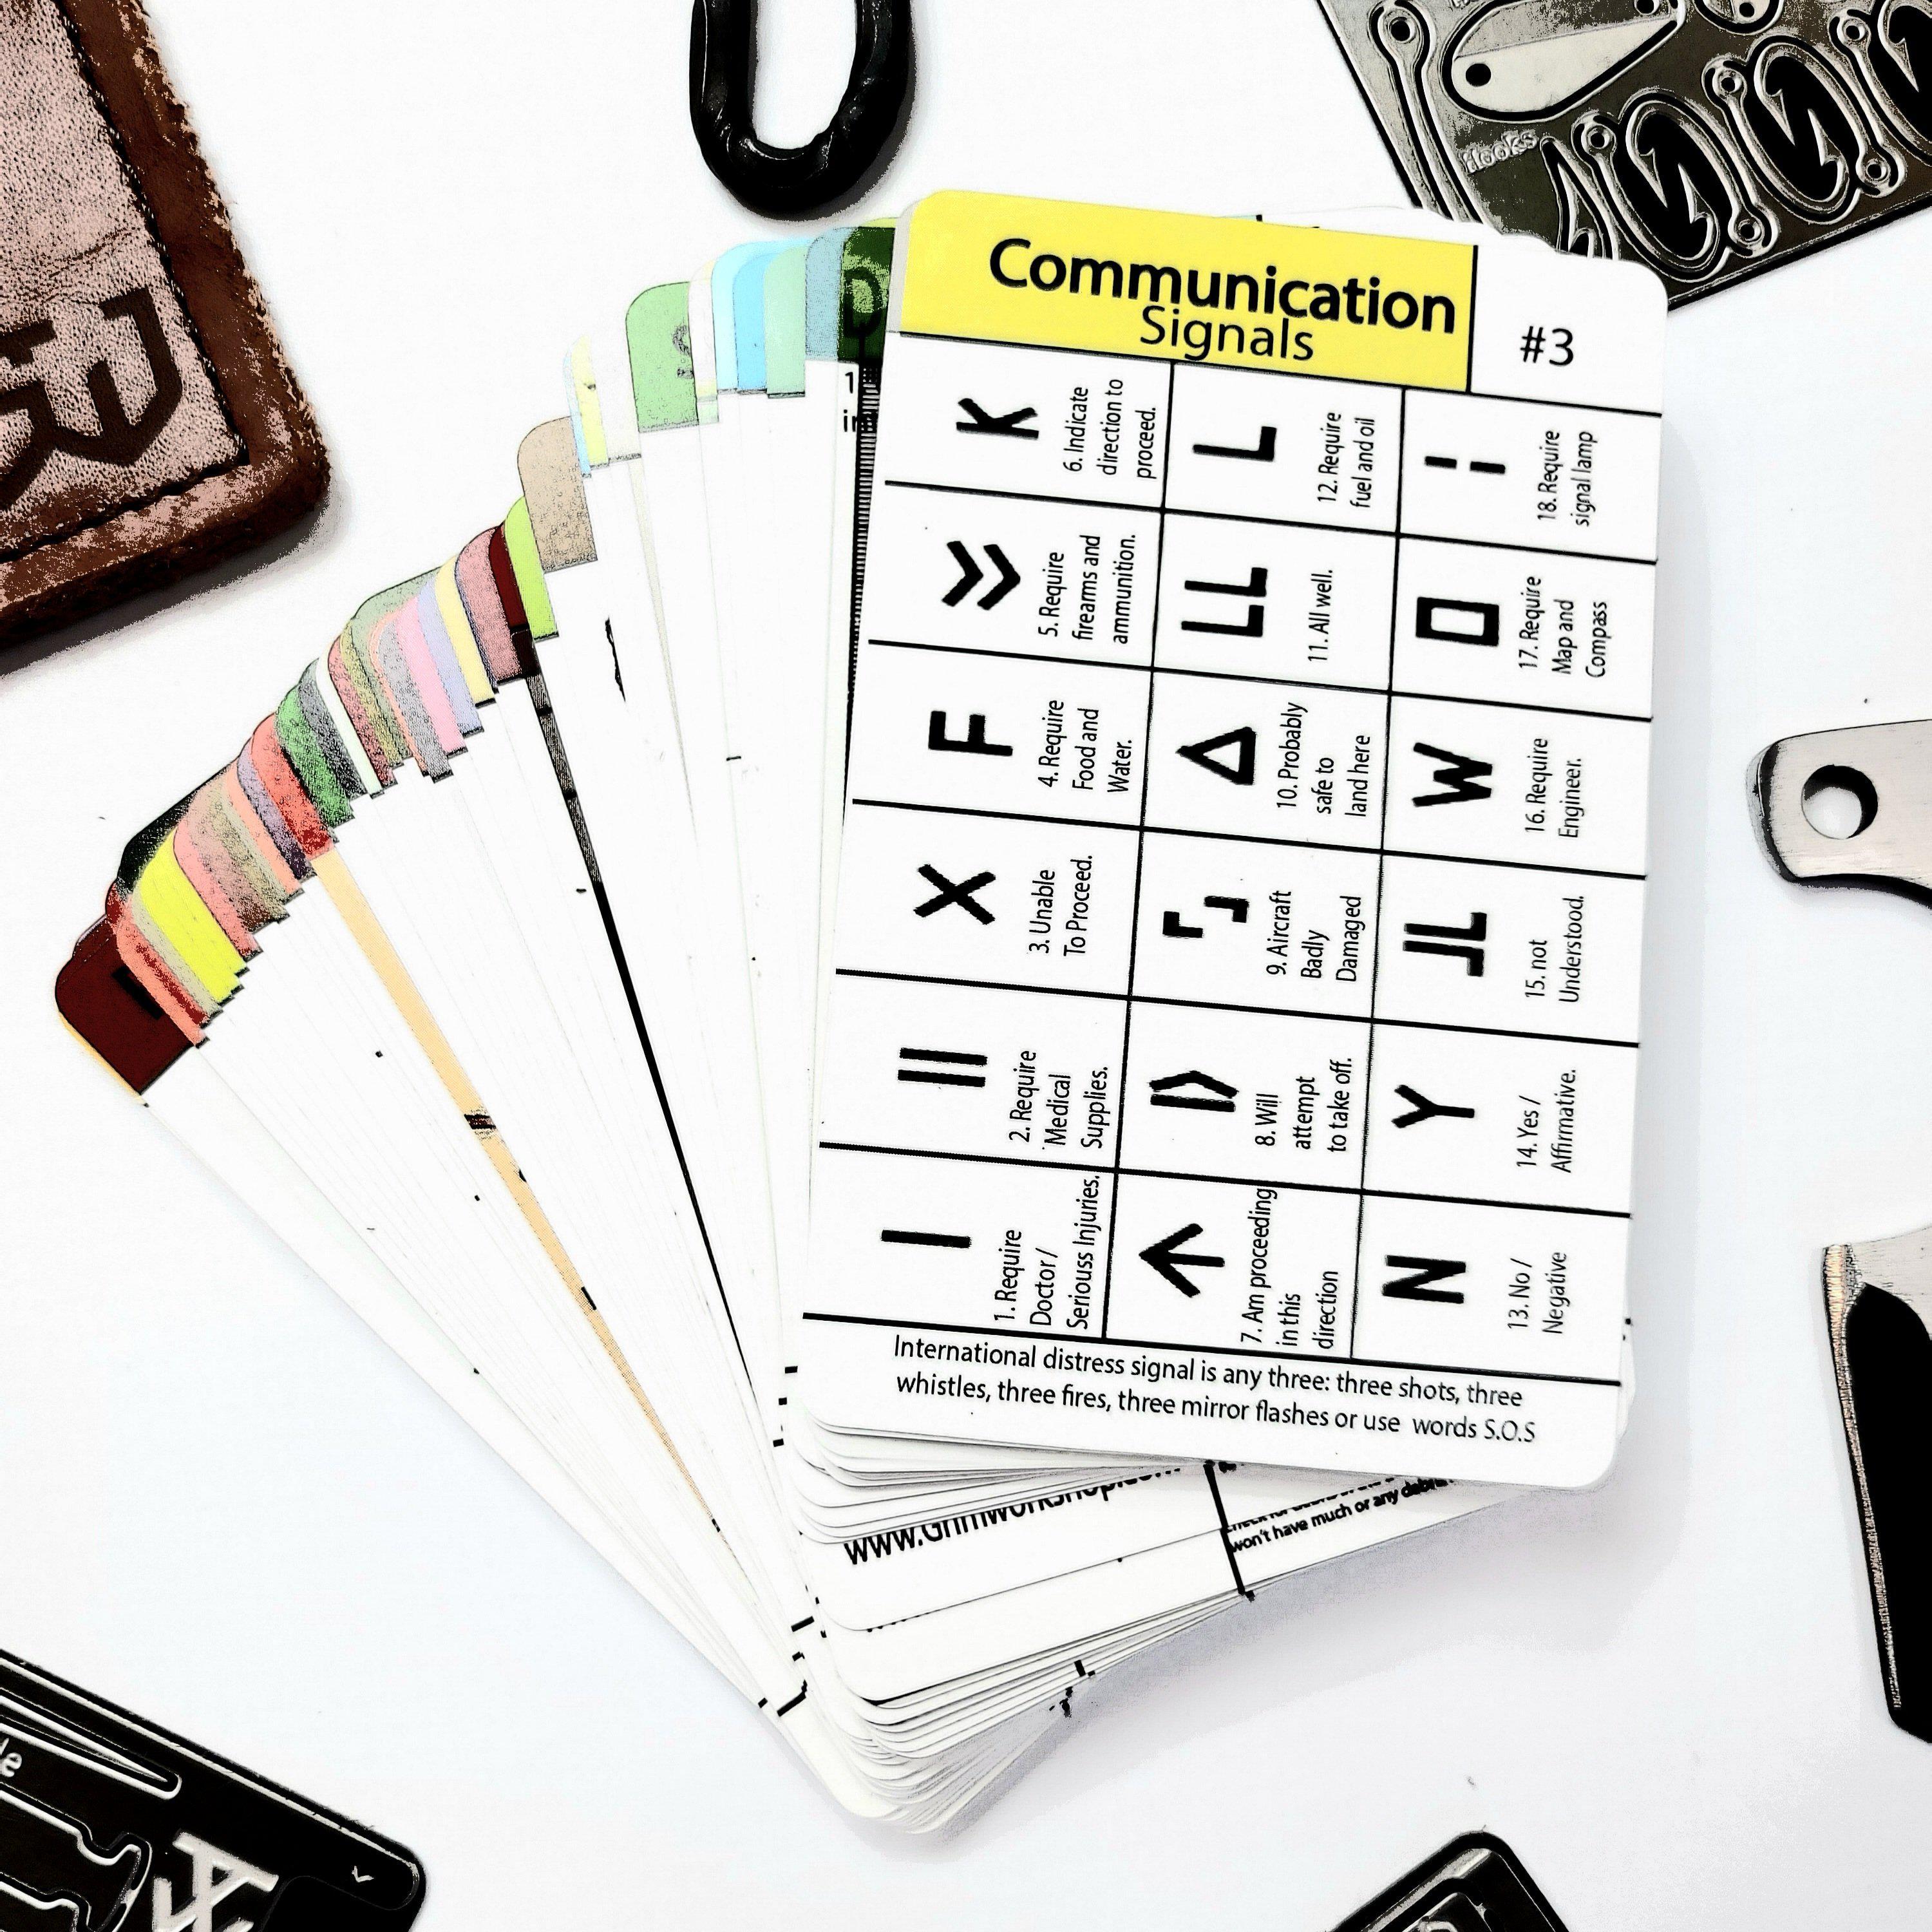
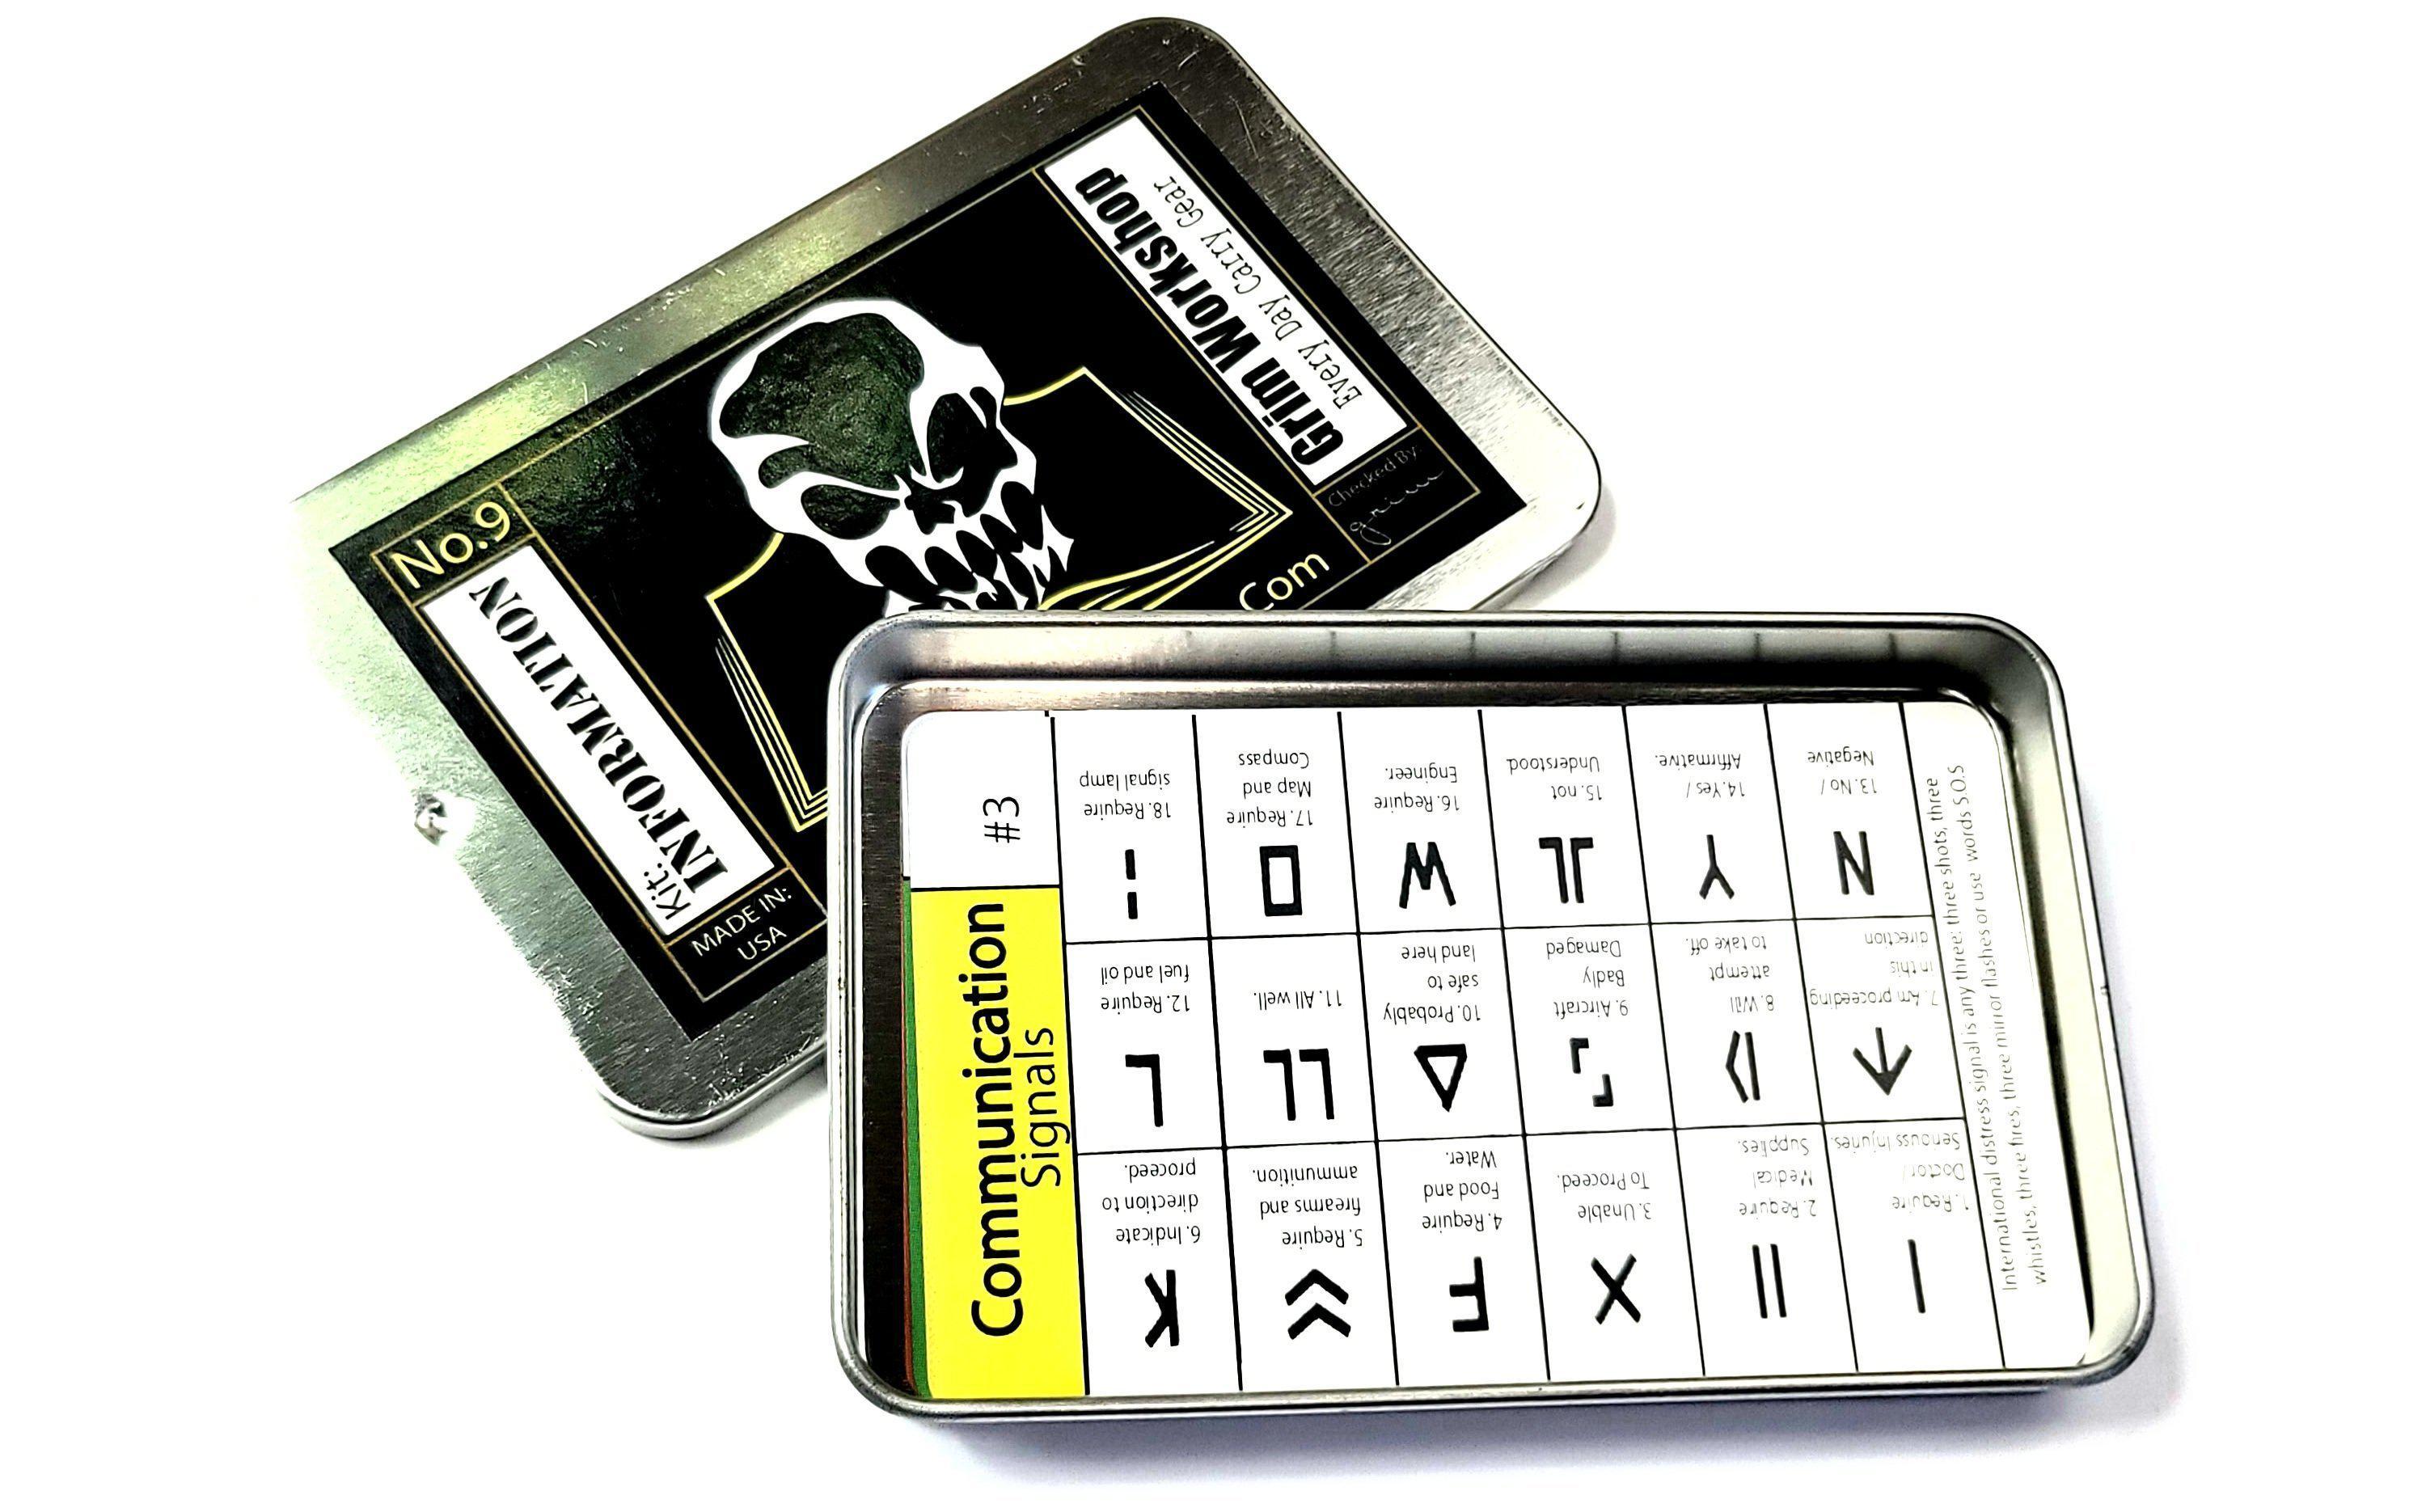
Land-to-air signals are a series of symbols created on the ground to be visible from the sky. These signals help rescuers flying overhead understand your situation and respond appropriately.
Step 1: Choose a Clear, Visible Area
- Location: Select a large, open area where your signals can be easily seen by passing aircraft. Beaches, clearings, or hilltops are ideal locations.
- Contrast: Ensure your signals stand out from the background. Use dark materials (like branches or stones) against light surfaces (sand, snow), or light materials (like clothing or tarps) against darker terrain.
Step 2: Create Clear, Large Signals
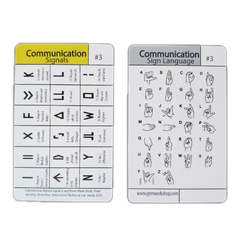
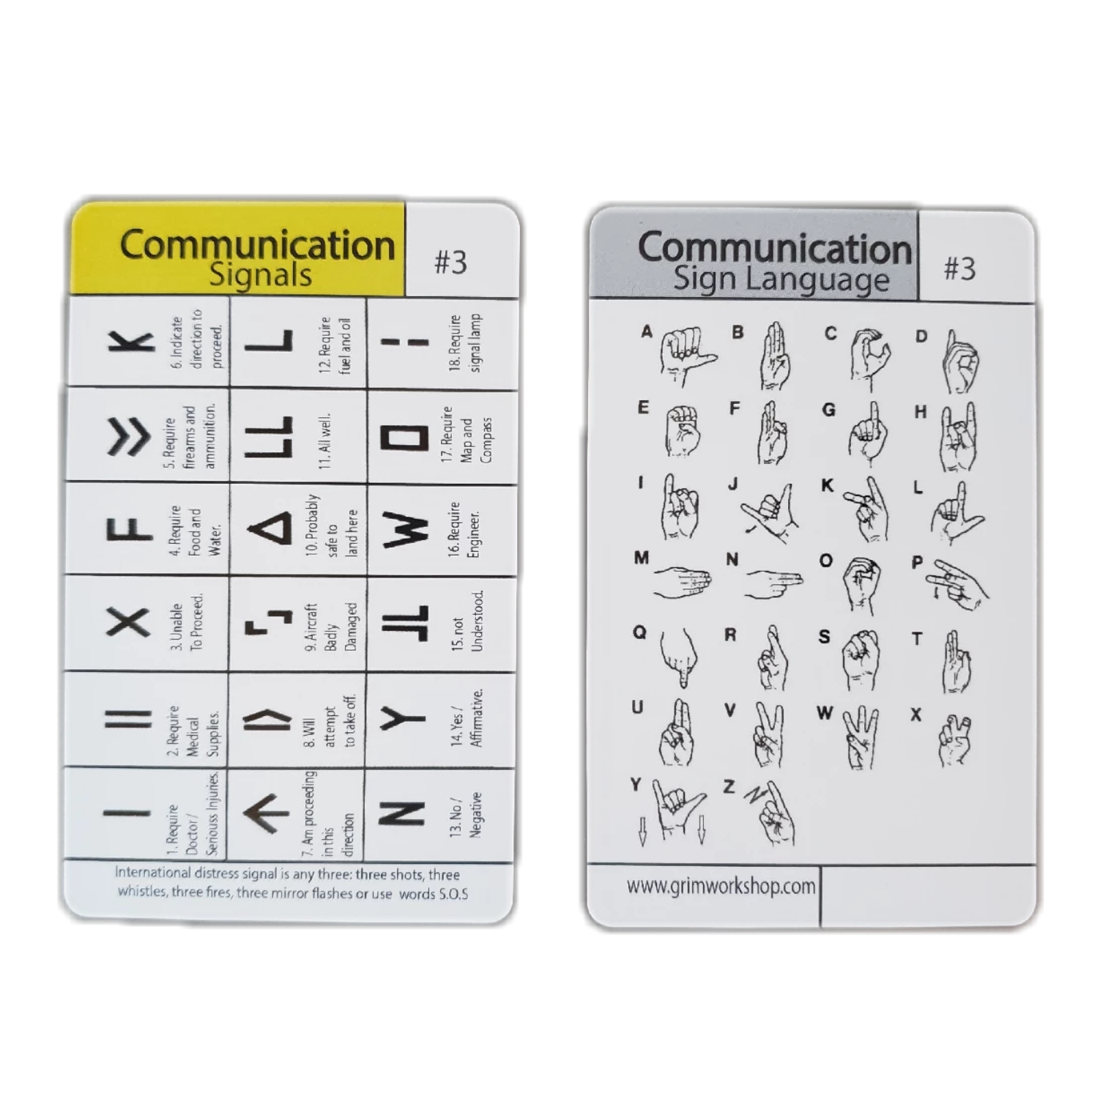
Make your signals as large as possible, aiming for at least 10 feet (3 meters) in length to ensure visibility from a high altitude. Here are the standard land-to-air symbols and their meanings:
-
V: "Need Assistance"
This symbol, made in the shape of a V or Y, means you require assistance but may not be in immediate danger. -
X: "Need Medical Assistance"
An X shape indicates a medical emergency and the need for immediate help. -
N: "No" or "Negative"
This symbol means that you do not need help or that the instructions provided cannot be followed. -
Y: "Yes" or "Affirmative"
A Y-shaped signal is used to confirm that instructions can be followed or that you are okay. -
Arrow: Indicates direction
Point an arrow in the direction you are heading or where help is needed.
Step 3: Enhance Visibility
- Materials: Use anything available to make the signals, such as rocks, branches, strips of clothing, or anything that contrasts with the ground.
- Lighting: If it’s dark or cloudy, use fire, flashlights, or reflectors to make your signals visible to aircraft flying overhead at night or in low visibility.
Step 4: Wave for Attention
When aircraft are nearby, stand next to your signal and wave both arms in the air to get attention. Rescuers may signal back with a wing tilt or flash of lights to acknowledge they’ve seen you.

Using Sign Language for Emergency Communication
When verbal communication is not possible—whether due to injury, hearing impairments, or loud environments—basic American Sign Language (ASL) can help convey essential information quickly. Here are a few key ASL signs you can use in emergencies:
Step 1: Learn Essential Emergency Signs
In an emergency, certain ASL gestures can communicate your situation clearly.
- Help: Make a fist with one hand and place it on the open palm of your other hand. Raise both hands slightly as if asking for assistance.
- Stop: Place your hand upright, fingers together, and hold it in front of you like a “stop” sign.
- Hurt: Extend both index fingers and point them towards each other. Rotate your wrists back and forth as if twisting the fingers to signify pain.
- Water: Make a "W" by extending three fingers and touching your chin.
- Food: Pinch your fingers together and bring them toward your mouth, mimicking the action of eating.
Step 2: Use Gestures for Clear Communication
Pair ASL with visual gestures or actions to reinforce your message:
- Pointing: Point to objects or areas that need attention, such as water, food, or shelter.
- Facial expressions: Use expressions to emphasize the urgency of your situation—such as looking distressed or pointing repeatedly for emphasis.
Step 3: Repeat and Confirm
When using sign language in an emergency, it's crucial to repeat important signs and ensure the other person understands:
- Repeat signs: When signaling vital information (like "help" or "water"), repeat the signs for clarity.
- Confirm understanding: Nod your head to affirm understanding or shake your head if the message needs to be corrected.
Step 4: Practice Common ASL Phrases for Emergencies
Here are some additional phrases to practice:
- Where?: Raise your eyebrows and move your dominant hand back and forth with the index finger extended.
- Danger: Place both fists in front of your body and push them forward, as if blocking or signaling a problem.
- I’m lost: Sign “I” by pointing to yourself, then cross your hands with palms facing outward and twist them as if confused or indicating loss.
- Preparation: Familiarize yourself with these signals before an emergency. Practice land-to-air signals and ASL gestures to ensure you're ready when needed.
- Adapt to the situation: If materials for creating land-to-air signals aren't readily available, improvise with what you have on hand.
- Stay visible: Whether you're signaling to aircraft or using ASL in an emergency, always ensure you're in a clear, visible location to increase the chances of effective communication.

DIY Survival Tip Cards for Every Situation
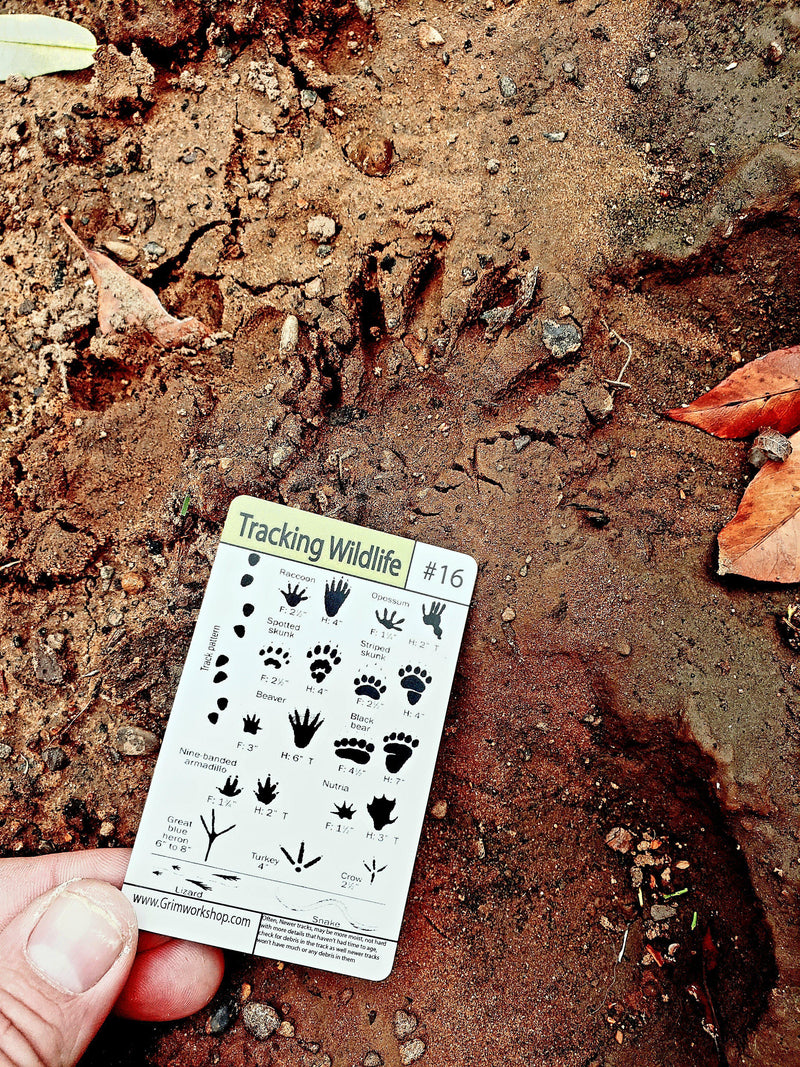
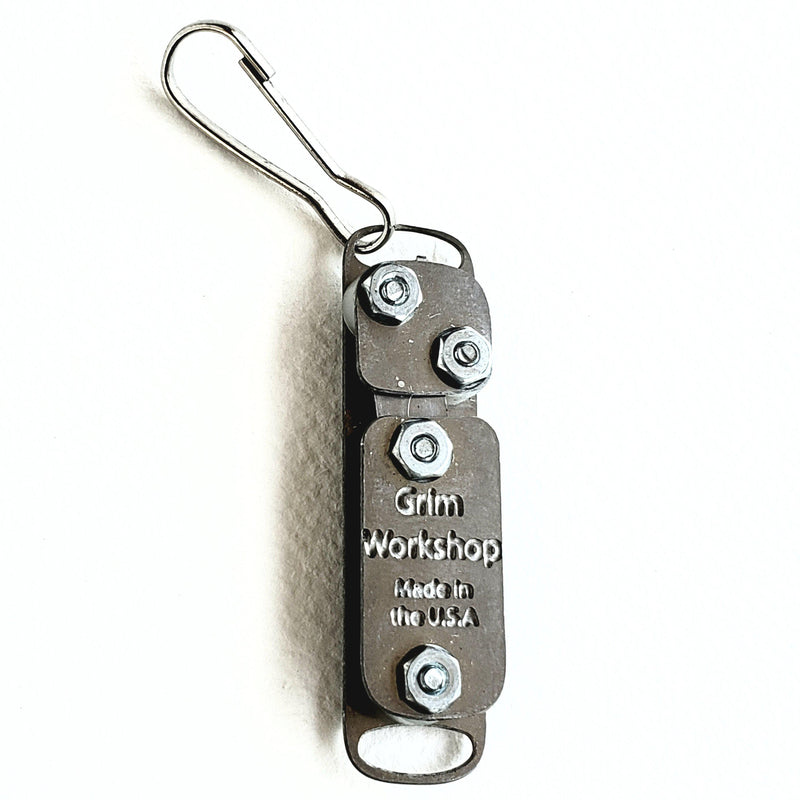
Dozens of other tip cards from Grim Workshop exist, each with some of the best survival tips ever on their own unique subject and focus, all containing valuable information, perfect for the avid learner, bushcraft, or hunting enthusiast, or as an emergency information kit in a mini survival kit, get home bag, or bug out bag. To view our entire line of survival tip cards, click HERE!

| Shipping | This item ships to |
| Delivery | Estimated between MON Apr 07 and THU Apr 10. Will usually ship within 1 business day. |
Description
Land to Air Emergency Signals and Sign Language
In emergency situations, effective communication is vital, especially when traditional methods like radios or phones are unavailable. This guide walks you through how to use land-to-air signals to communicate with aircraft and basic American Sign Language (ASL) gestures to communicate with those around you when verbal communication isn’t possible.

Using Emergency Land-to-Air Signals
Land-to-air signals are a series of symbols created on the ground to be visible from the sky. These signals help rescuers flying overhead understand your situation and respond appropriately.
Step 1: Choose a Clear, Visible Area
- Location: Select a large, open area where your signals can be easily seen by passing aircraft. Beaches, clearings, or hilltops are ideal locations.
- Contrast: Ensure your signals stand out from the background. Use dark materials (like branches or stones) against light surfaces (sand, snow), or light materials (like clothing or tarps) against darker terrain.
Step 2: Create Clear, Large Signals
Make your signals as large as possible, aiming for at least 10 feet (3 meters) in length to ensure visibility from a high altitude. Here are the standard land-to-air symbols and their meanings:
-
V: "Need Assistance"
This symbol, made in the shape of a V or Y, means you require assistance but may not be in immediate danger. -
X: "Need Medical Assistance"
An X shape indicates a medical emergency and the need for immediate help. -
N: "No" or "Negative"
This symbol means that you do not need help or that the instructions provided cannot be followed. -
Y: "Yes" or "Affirmative"
A Y-shaped signal is used to confirm that instructions can be followed or that you are okay. -
Arrow: Indicates direction
Point an arrow in the direction you are heading or where help is needed.
Step 3: Enhance Visibility
- Materials: Use anything available to make the signals, such as rocks, branches, strips of clothing, or anything that contrasts with the ground.
- Lighting: If it’s dark or cloudy, use fire, flashlights, or reflectors to make your signals visible to aircraft flying overhead at night or in low visibility.
Step 4: Wave for Attention
When aircraft are nearby, stand next to your signal and wave both arms in the air to get attention. Rescuers may signal back with a wing tilt or flash of lights to acknowledge they’ve seen you.

Using Sign Language for Emergency Communication
When verbal communication is not possible—whether due to injury, hearing impairments, or loud environments—basic American Sign Language (ASL) can help convey essential information quickly. Here are a few key ASL signs you can use in emergencies:
Step 1: Learn Essential Emergency Signs
In an emergency, certain ASL gestures can communicate your situation clearly.
- Help: Make a fist with one hand and place it on the open palm of your other hand. Raise both hands slightly as if asking for assistance.
- Stop: Place your hand upright, fingers together, and hold it in front of you like a “stop” sign.
- Hurt: Extend both index fingers and point them towards each other. Rotate your wrists back and forth as if twisting the fingers to signify pain.
- Water: Make a "W" by extending three fingers and touching your chin.
- Food: Pinch your fingers together and bring them toward your mouth, mimicking the action of eating.
Step 2: Use Gestures for Clear Communication
Pair ASL with visual gestures or actions to reinforce your message:
- Pointing: Point to objects or areas that need attention, such as water, food, or shelter.
- Facial expressions: Use expressions to emphasize the urgency of your situation—such as looking distressed or pointing repeatedly for emphasis.
Step 3: Repeat and Confirm
When using sign language in an emergency, it's crucial to repeat important signs and ensure the other person understands:
- Repeat signs: When signaling vital information (like "help" or "water"), repeat the signs for clarity.
- Confirm understanding: Nod your head to affirm understanding or shake your head if the message needs to be corrected.
Step 4: Practice Common ASL Phrases for Emergencies
Here are some additional phrases to practice:
- Where?: Raise your eyebrows and move your dominant hand back and forth with the index finger extended.
- Danger: Place both fists in front of your body and push them forward, as if blocking or signaling a problem.
- I’m lost: Sign “I” by pointing to yourself, then cross your hands with palms facing outward and twist them as if confused or indicating loss.
- Preparation: Familiarize yourself with these signals before an emergency. Practice land-to-air signals and ASL gestures to ensure you're ready when needed.
- Adapt to the situation: If materials for creating land-to-air signals aren't readily available, improvise with what you have on hand.
- Stay visible: Whether you're signaling to aircraft or using ASL in an emergency, always ensure you're in a clear, visible location to increase the chances of effective communication.

DIY Survival Tip Cards for Every Situation
Dozens of other tip cards from Grim Workshop exist, each with some of the best survival tips ever on their own unique subject and focus, all containing valuable information, perfect for the avid learner, bushcraft, or hunting enthusiast, or as an emergency information kit in a mini survival kit, get home bag, or bug out bag. To view our entire line of survival tip cards, click HERE!

Shipping
| Shipping | This item ships to |
| Delivery | Estimated between MON Apr 07 and THU Apr 10. Will usually ship within 1 business day. |


